Centrifugal and Vacuum Casting for Jewelry: A Step-By-Step Guide
Our step-by-step guide will help you learn to use vacuum casting techniques to create wax models for jewelry.
14 Minute Read

Why Try Wax Casting?
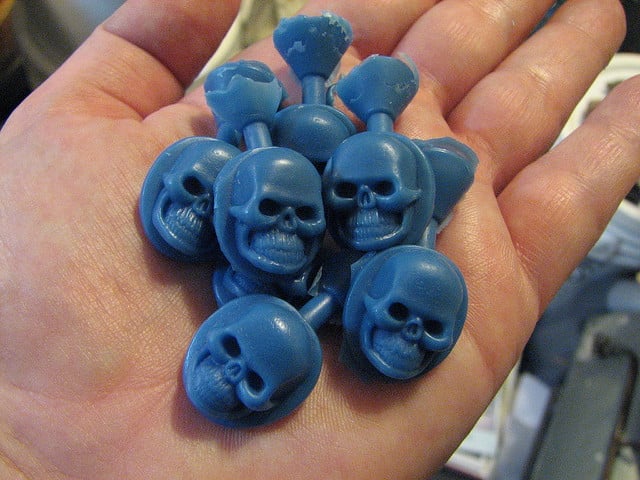
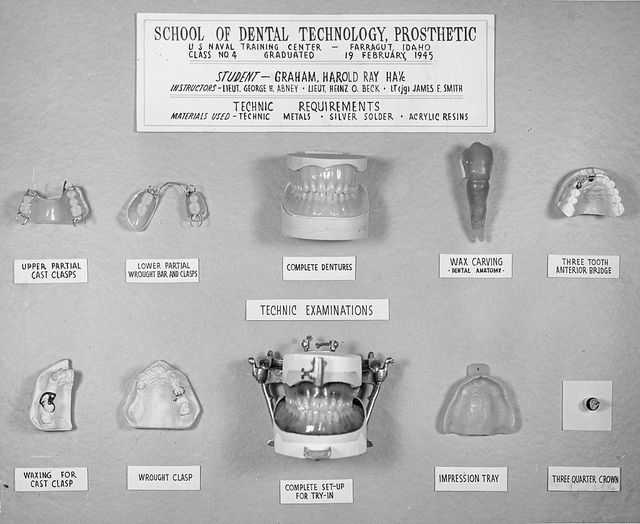
Wax casting is a technique used by artists to create sculptures large and small. Artists use wax models of objects to create molds. Then, they can pour molten metal into the molds to create sculptures. Cultures across the world have used this technique for thousands of years. Closer to us in time, dentists in the 1940s used this technique to create pieces for dental work. The need for jewelers to create small jewelry settings has lead many to adapt wax casting techniques from dentistry for jewelry making.
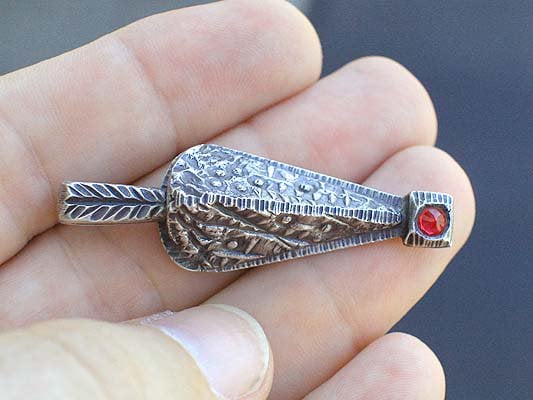
Jewelers may find wax casting very useful for a number of reasons. Custom settings and mounts for freeform stones as well as protective designs for soft gem species like dioptase and opal are easier to create with this method. (Options are good things. Wrapping bezel wire around stones can get tiring after a while). Jewelers can also create rubber molds of original pieces and use them to make wax models for copies.
Perhaps the best thing about wax casting is how it can help unleash a jeweler's creativity. You can form wax into nearly any shape imaginable. It's also easy to experiment with different textures and decorations. If jewelers don't get the results they want, just a little applied heat and it's back to a brand new work surface. Having the option to wax cast custom settings also means jewelers aren't locked into using purchased shapes to set prices.
Wax Casting Methods
There are many wax casting methods:
- Sand casting uses sand as the mold material.
- Tufa casting involves carving a mold into tufa, a fine-grained volcanic ash.
- Cuttlebone casting involves cutting a mold or pressing a model into cuttlebone.
- Water casting is an interesting way of creating freeform objects. Molten metal slowly poured into water cools into unusual, random shapes you can use to make molds.
- Steam casting uses the force of steam to force the metal into a mold.
This article will focus on centrifugal and vacuum casting using the lost wax technique (so-called because the wax model is destroyed or lost when the metal is cast).
Tools and Supplies for Centrifugal and Vacuum Casting
There are two kinds of people who will read the following list: those who will decide this technique isn't for them and those who will try to get their hands on their kid's college fund to get everything on here.
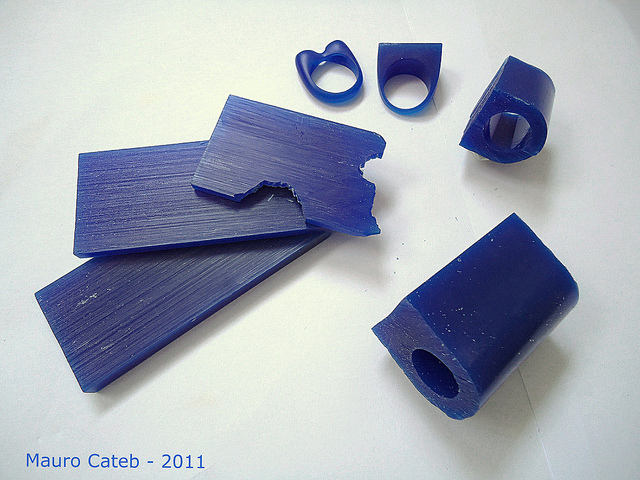
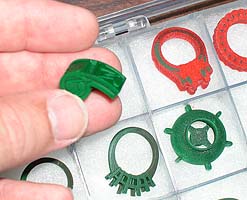
Model or Pattern Wax
A model or pattern can be made of wax or any completely combustible material. The key words here are "completely combustible." A model material that leaves any residue will cause problems with the cast piece, anything from an unsightly blob to a loss of details. An amazing variety of wax types are available from supply houses and online. There is wax that can be filed and water-soluble wax for hollow forms. Wax wire comes in round, half-round, square, and triangular shapes. You can find wax sheets and sprue wax. Wax is the most versatile of all the modeling materials and is not as toxic or noxious as other options.
Sprue Wax
I recommend 3/8″ diameter for the main sprue and smaller gauges to attach the models to the main sprue.
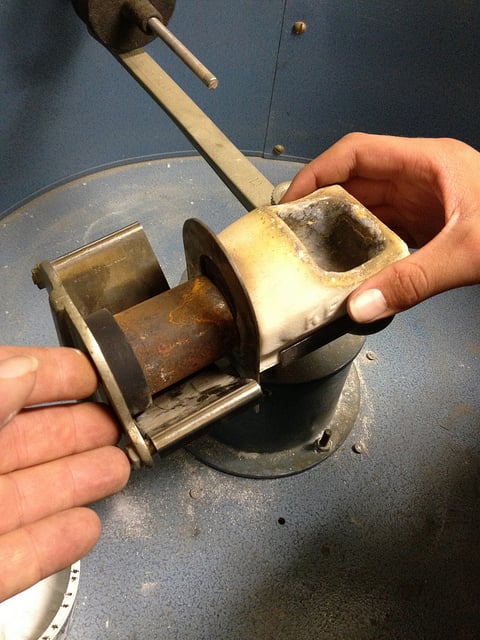
Sprue Bases and Flasks
Buy the bases and flasks as a set. Flasks need to have a big enough diameter to allow for a clearance of 3/8″ between the model and the flask wall and be tall enough to allow for at least 1/2″ of investment to cover the model. If adequate investment isn't provided, the mold may blow out and destroy the model. (A blowout while using a centrifugal machine can fling lots of molten metal around your workshop. Being hit with just one bit of molten metal will likely ensure you remember to allow for enough investment to cover the model next time).
Investment
Suppliers carry investment in small and large quantities. However, investment is a water magnet, so buy only what you are going to use within six months or so. Be aware that using a lot of investment will dry out your hands. (So invest in a good hand lotion).
Scale
A lab scale for weighing the metal, wax, and investment.
Mixing Equipment
A flexible rubber bowl for mixing, a scoop, and something to mix the investment. A hand mixer with only one beater is recommended. An electric mixer can make bubbles in the investment, which is something to avoid.
Caution: never reuse your investment mixer for food preparation because the investment can never be completely cleaned off the mixer.
De-bubblizer
A vibrating platform for eliminating bubbles in the model and the investment.
Burn-out Oven (Kiln) with Pyrometer
Needed to burn out model. A kiln with a pyrometer will show at a glance the accurate kiln temperature.
Torch
Oxygen/acetylene torch for melting metal. A "rosebud" tip is used to melt the metal faster.
Eye Protection
Find eyewear dark enough to protect your eyes from the glare of the torch, while allowing you to see well enough to move around the workshop.
Hand Protection
Heat resistant gloves for removing hot flasks from the kiln and tongs for handling hot flasks.
Crucible
Get a big enough crucible to hold enough molten metal for the cast. If there isn't enough metal to fill the mold, you'll lose castings.
Miscellaneous Equipment
- I use a carbon rod to stir the metal to make sure it's completely melted and to remove impurities from the melt.
- For flux, I recommend Twenty Mule Team Borax.
- A five-gallon bucket. Fill with water for quenching the flasks after casting.
- Fire extinguisher.
- And last but not least, the casting machine.
Centrifugal and Vacuum Casting Machines
A centrifugal casting machine uses the weight of the metal and centrifugal force (even if only an apparent force) to fill the mold. A vacuum casting machine uses a vacuum to suck the molten metal into the mold.
A force is needed to overcome the surface tension of the molten metal. Otherwise, the metal would form into a blob and just sit there. If your model is delicate, more force will be needed to push the molten metal into the tiny areas of the mold. Too little force and the mold doesn't fill properly. Too much force and you run the risk of blowing the mold. The idea is to have a steady, constant pressure pushing or pulling the molten metal into the mold.
The centrifugal machine must be securely bolted to a level surface with a protective fence around it. A metal washtub or a drum from a clothes dryer can be used. The fence should have no holes to prevent molten metal from escaping in case of a blowout.
You can count on having at least one blowout. Blowouts have a way of raising your safety awareness dramatically.
The centrifugal machine should be at a comfortable working height. Remember, you'll be working with hot flasks, molten metal, and a blazing torch. You don't want to contort yourself into uncomfortable and unsafe positions. Do whatever is necessary to make this process as simple as possible.
Balancing Flasks
You must balance every flask used in a centrifugal casting. Follow these steps:
- Place the invested, but not burnt-out, flask into the centrifugal machine.
- Slide the crucible to the mold and put your pre-measured metal for that flask into the crucible.
- Loosen the center nut so the arm will teeter-totter.
- Adjust the counter-balance weights so a slight touch will cause the arm to move up or down.
- Make sure that you tighten the weight nut and the center nut. Check them again and then once more just to be sure. If you're working with others, even if you watch them tighten the nuts, check them yourself.
If you understand the physics behind the centrifugal process, you'll understand the necessity of making sure you work safely.
Why Buy a Vacuum Casting Machine?
Vacuum casting units are expensive. If you can afford one, by all means buy one. (One of the advantages of vacuum casting is you don't have to go through the tedious balancing procedure above). There are some excellent machine and accessories packages available.
Centrifugal and Vacuum Casting Procedures
Differences between centrifugal and vacuum casting will be explaining in the step-by-step guide below. Otherwise, these steps apply to either method.
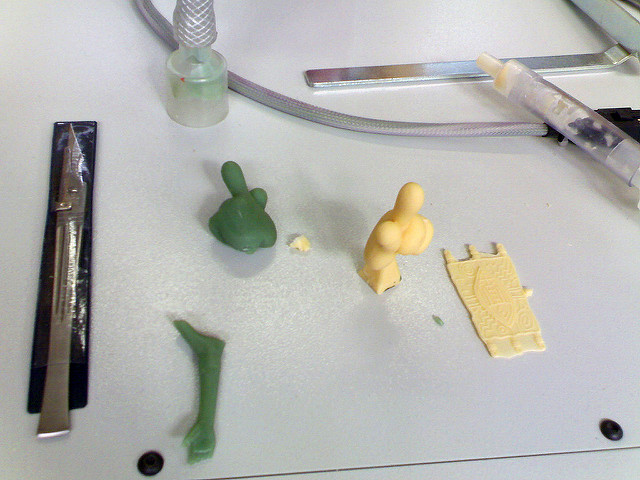
- Make or buy a wax model or pattern.
- Check the model for any defects and repair if needed. The more finished the model, the less cleanup the finished casting will need. Model materials are easier to work on than metal.
- Weigh and mark the rubber sprue bases.
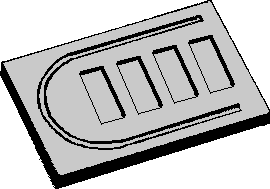
- Mount tree wax on the sprue base. Melt wax where the sprue wax and the sprue base meet. You can use an alcohol lamp and a large sewing needle stuck into the end of a wooden dowel. Heat the needle and use it to melt and apply the wax. Commercial wax pen are also available.
- Mount a small sprue onto the model, preferably in a spot that won't be visible on the finished piece. Put a fillet of wax where the sprue is attached to the model.
- Secure the sprued model to the tree. Keep the sprue for the model as short as possible. The sprued model can be attached with "sticky wax" or by using the hot needle again. Put a fillet of wax where the model sprue and the tree meet. When spruing multiple models, start from the top of the tree sprue and work towards the base. Keep the models a minimum of 1/8″ apart. Check for clearance between the models and the flask wall.
- Assemble the flask and base and recheck your clearances. Models should be at least 3/8″ from the flask wall. Allow for at least 1/2″ for investment to cover the model.
- Remove flask from base and weigh the sprued base. Subtract the weight of the sprue base and you have the weight of your models and sprues. To figure how much metal will be needed, you'll have to do a little math. See "How to Calculate the Casting Metal Amount" below. Mark the flask to distinguish it from others.
- Put the flask and sprued base back together. Check your clearances again. (For vacuum casting, cut soda straws 1/2″ to 3/4″ shorter than the height of the flask.Plug one end with wax and clip it to the side of the flask wall with a bobby pin and seal the end. This gives a boost to the vacuum by creating a channel into the mold where the straws have burnt out. After the flask is invested, remove the bobby pins).
- Instructions for mixing investment are included with the investment. In general, put water into the rubber mixing bowl. Then add the investment. Mix the investment to the consistency of pancake batter. Make sure there are no lumps. You'll get lumps if you put the investment into the bowl and then add the water.
- Vibrate the mixing bowl on a vibrating platform. (If you're using a vacuum machine, place the mixing bowl on the investment table. Put the bell jar over the bowl and turn on the vacuum. The investment will "boil" and turn frothy. This is the air being pulled out of the investment by the vacuum. The froth will die down in a bit. Vacuum for about a minute and a half. Over vacuuming will cause bubbles in the investment).
- While tilting the flask, slowly pour the investment into the flask until it's full. If you don't have enough mixed investment to fill a flask completely, dump it out and mix more investment. Using two pours to fill a flask is just asking for problems. (If you're going to vacuum cast, make sure that the flask will seal. Check that there is no investment on the flask rim. A small channel can be scraped into the investment where it meets the flask wall).
- Vibrate the flask on a vibrating platform or vacuum the flask the same way as the mixing bowl. While vibrating the flasks, tap on the side with a metal rod or a screwdriver. This helps shake the bubbles loose. (If you're vacuum casting, collars of stiff flexible material are needed for the flasks. The collars keep the investment from spilling all over the investment table when it froths up. The collar can be held in place with rubber bands. Vacuum for about a minute and a half).
- Let the investment set up. Scratch an identity mark in the investment.
- Remove the rubber sprue with a twisting motion.
- Before putting the flasks into the kiln, find a way to keep the molten wax off the bottom of the kiln. Without this protection, the kiln won't last long. Ceramic tiles with grooves in them to hold the wax until it vaporizes will work well. You can de-wax the invested flasks by putting them in a toaster oven set at the temperature the wax melts. Don't do this in your kitchen oven! Put a tray under the flasks to catch the molten wax.
- Clean any dried investment from the outside of the flasks and from the lip if you are vacuum casting. Put the flasks in a cold kiln. Make sure to leave some space between the flasks.
- Follow a "burnout schedule" based on the size of the flasks. Buy and study a good casting book. I recommend Practical Casting: A Studio Reference by Tim McCreight.
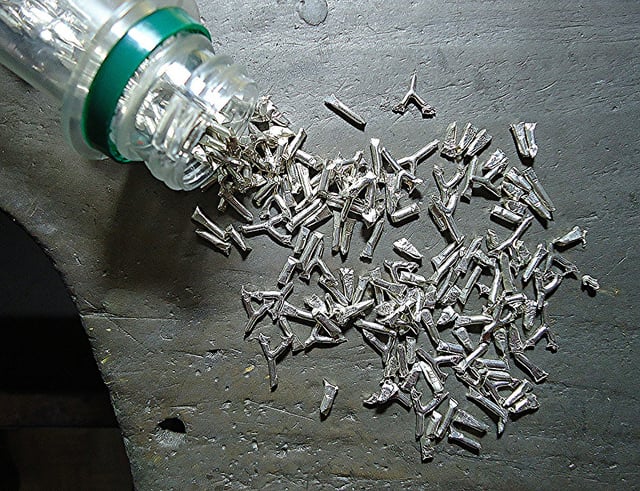
- You should have containers with the weighed-out metal for each flask. Use metal that hasn't been melted since it came from the refinery or metal that's been melted only once (such as old buttons and sprues from previous castings), plus not less than fifty percent by weight of new metal. Cast sprues and buttons can be recycled twice for casting metal.
- Turn off the kiln at the end of the burnout cycle. Let the flasks cool to 300 to 400 degrees below the melting point of the metal used.
- Flux and warm up the crucible.
- Place the hot flask in the centrifugal machine, checking for alignment. Slide the crucible to the flask opening.
- Melt the metal. Use the stirring rod to check the melt for lumps. Slide any impurities to the side of the crucible farthest from the flask mouth. Don't boil the metal. If the melt is boiling, put a bit of flux in the mix and back off with the torch until the metal cools down.
- When the metal is melted, remove the torch and release the casting arm in a smooth movement. Let the machine stop spinning and remove the flask from the machine. Put the still hot flask on a fire-resistant surface until it cools down to a dull red. Then quench the flask in the bucket of water or let it sit while you cast other flasks. (For vacuum casting, take the flask out of the kiln and place it button up on the casting pad. Turn on the vacuum and make sure you have a good seal between the flask and the casting pad. When the highest vacuum is reached, melt and pour the metal. Leave the vacuum on until the metal solidifies. Set the flask aside to cool, quench, or continue casting).
- Using the tongs, quench the flasks in the bucket of water, sloshing it back and forth. The water will remove the castings from the investment. Wait a bit before you retrieve the castings. They will still be hot.
- You now have an ugly chunk of metal covered with investment and black oxidation. Scrub the castings with a toothbrush and remove as much investment as possible.
- Cut the castings and their sprues from the tree. Clean more investment as needed. Cut the sprues from the model. Clean up the area where the sprue was attached. Heat and pickle the cast pieces. Finish the pieces by soldering, filing, and polishing.
You're done!
How to Calculate the Casting Metal Amount
The amount of metal needed to fill the mold = (W x SGw x SGm) + 15.55 grams.
When:
- W = Grams of wax or other model medium.
- SGw = Specific gravity of wax or other model medium.
- SGm = Specific gravity of metal used for casting.
The following example uses wax as the model medium and sterling silver as the metal.
Let's say that the weight of the sprue base, model, and sprues comes to 325 grams. The base weighs 144 grams. 325 grams minus 144 grams equals 181 grams of wax model and sprues.
Wax has a specific gravity of 1. Sterling silver has a specific gravity of 10.4.
So, 181 grams x 1 x 10.4 = 1882.4 grams of sterling silver.
To ensure there is adequate metal to fill the mold, add 10 pennyweights of metal for the button. One pennyweight (dwt) equals 1.555 grams, so 10 pennyweights equals 15.55 grams.
1882.4 + 15.55 = 1897.95 grams. Round it off to 1898 grams of sterling to fill the flask.
Take Precautions When Learning Centrifugal and Vacuum Casting
You'll be working with hot blazing torches, molten metal, and hot flasks. There will be temperatures in your workshop that can severely damage any material. Take the time to educate yourself about the tools, equipment, materials, and procedures you'll be using.
Doing your own centrifugal or vacuum casting isn't difficult. However, as with any new experience, it does have a learning curve. Plan the placement of your equipment and go through a dry run one or two (or twelve) times until you're comfortable with the procedures. Keep a fire extinguisher handy.
If you're casting indoors, you'll need to have outstanding ventilation. Adequate ventilation will not do. Torch and wax fumes are toxic. Other model materials can be worse. Keep your health and that of others in mind.
A final warning: don't dump investment down your household drains. It'll set like concrete. You'll end up sending some plumber's kids to college.
International Gem Society
Related Articles
Mokume-Gane Metal Techniques
An Introduction to Precious Metal Clay Jewelry
How to Make a Beaded Necklace
Tips and Tools for Handling Gems Securely
Latest Articles
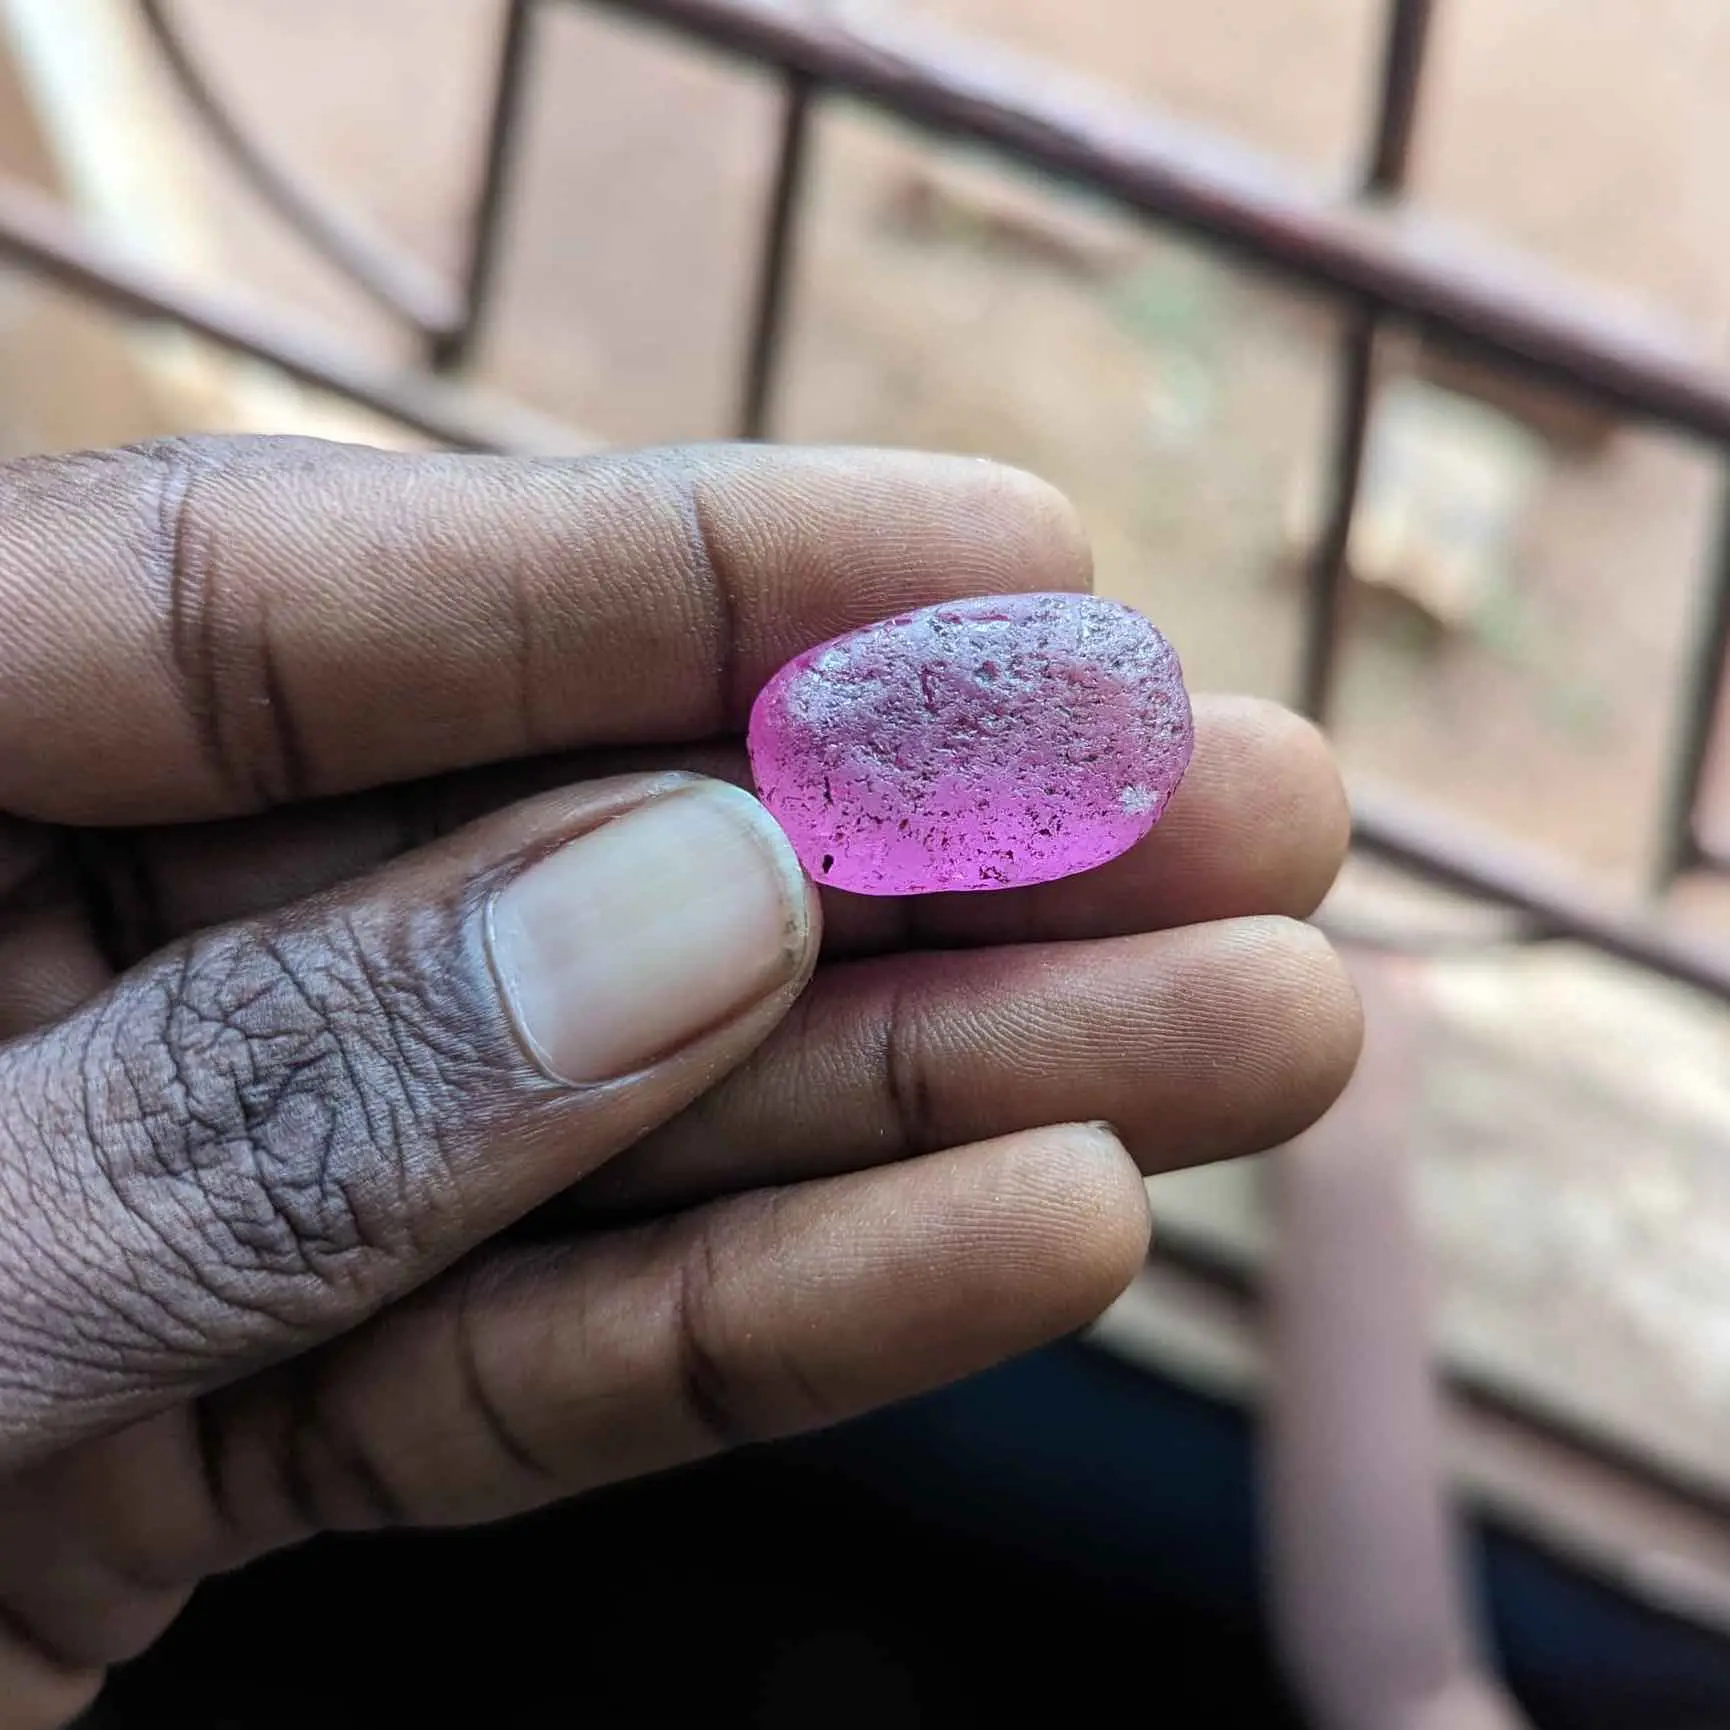
Basic Business Rules: Buying Rough
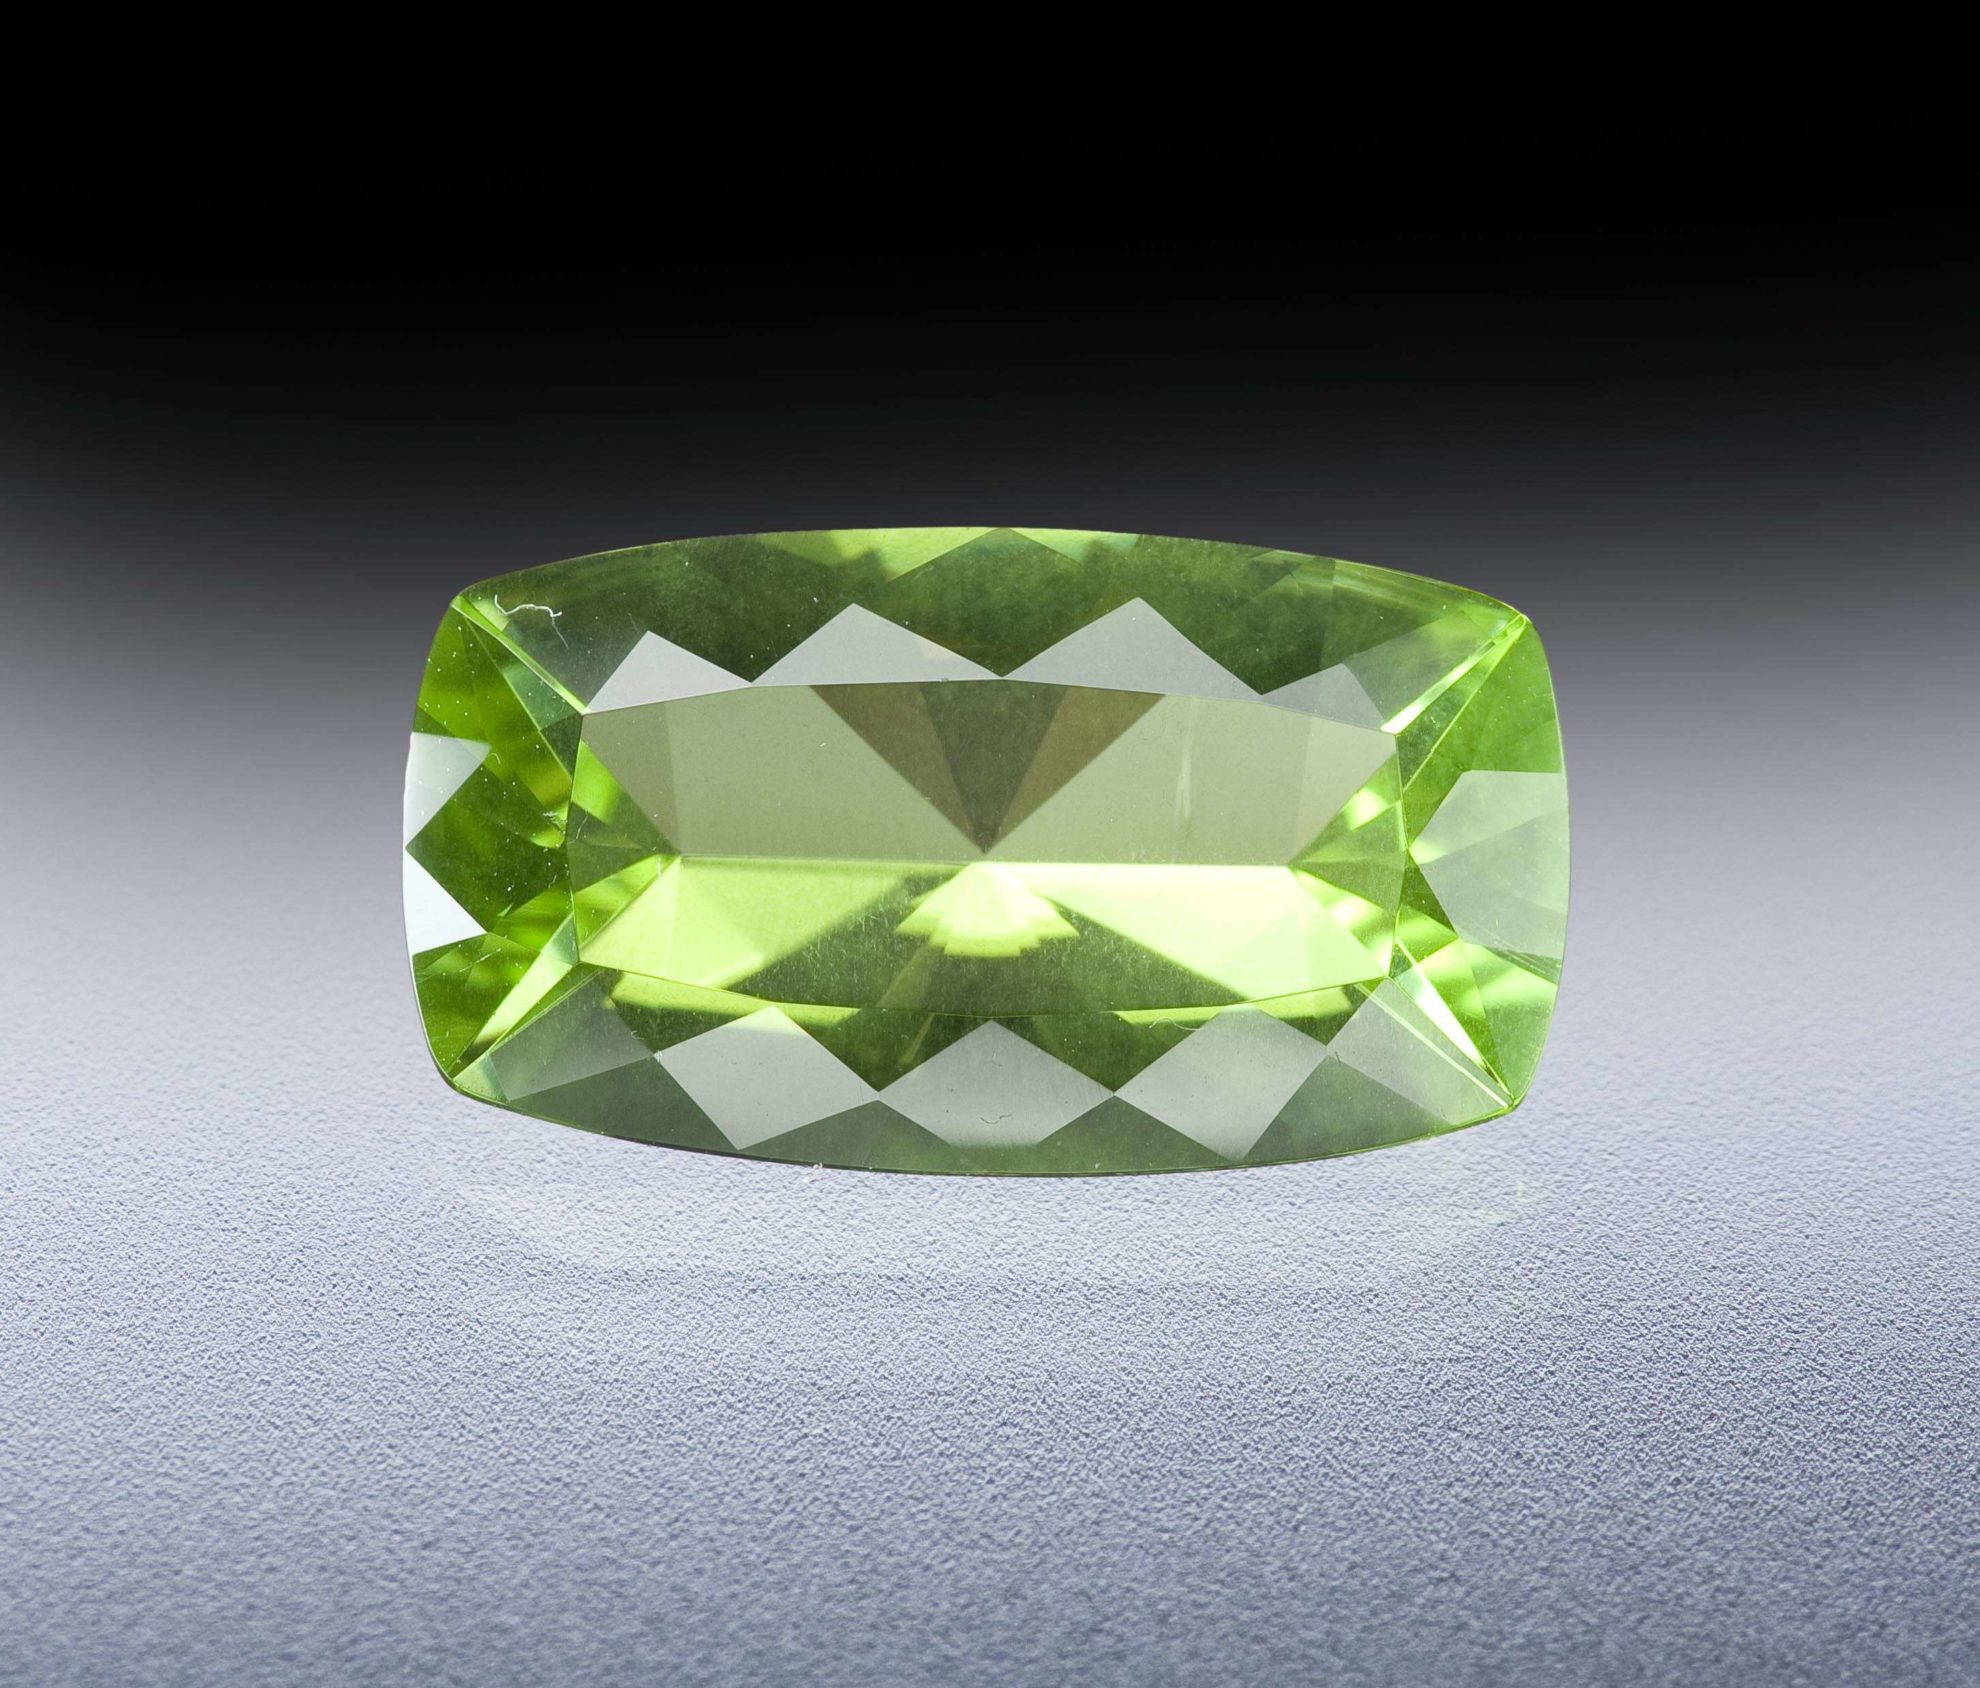
Peridot Value, Price, and Jewelry Information
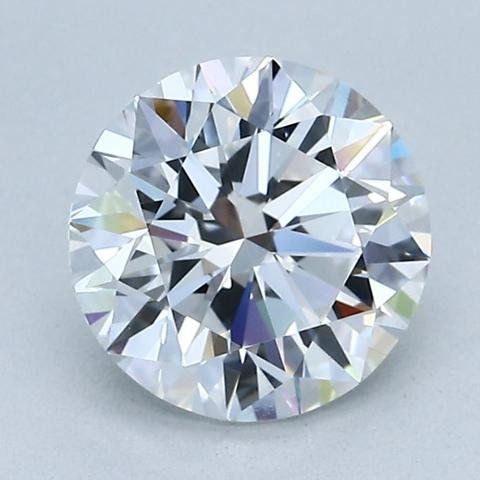
Traditional Diamond Cut Grading Methods
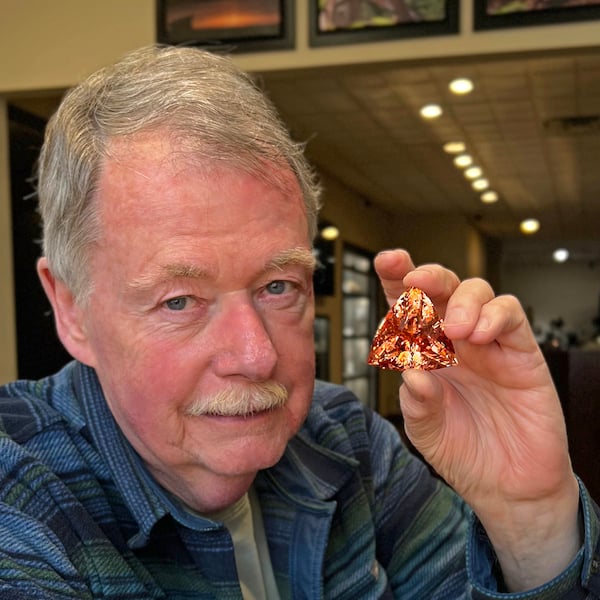
Cutting a 294-ct Trilliant Morganite: An Interview with Steve Moriarty

Never Stop Learning
When you join the IGS community, you get trusted diamond & gemstone information when you need it.
Get Gemology Insights
Get started with the International Gem Society’s free guide to gemstone identification. Join our weekly newsletter & get a free copy of the Gem ID Checklist!