

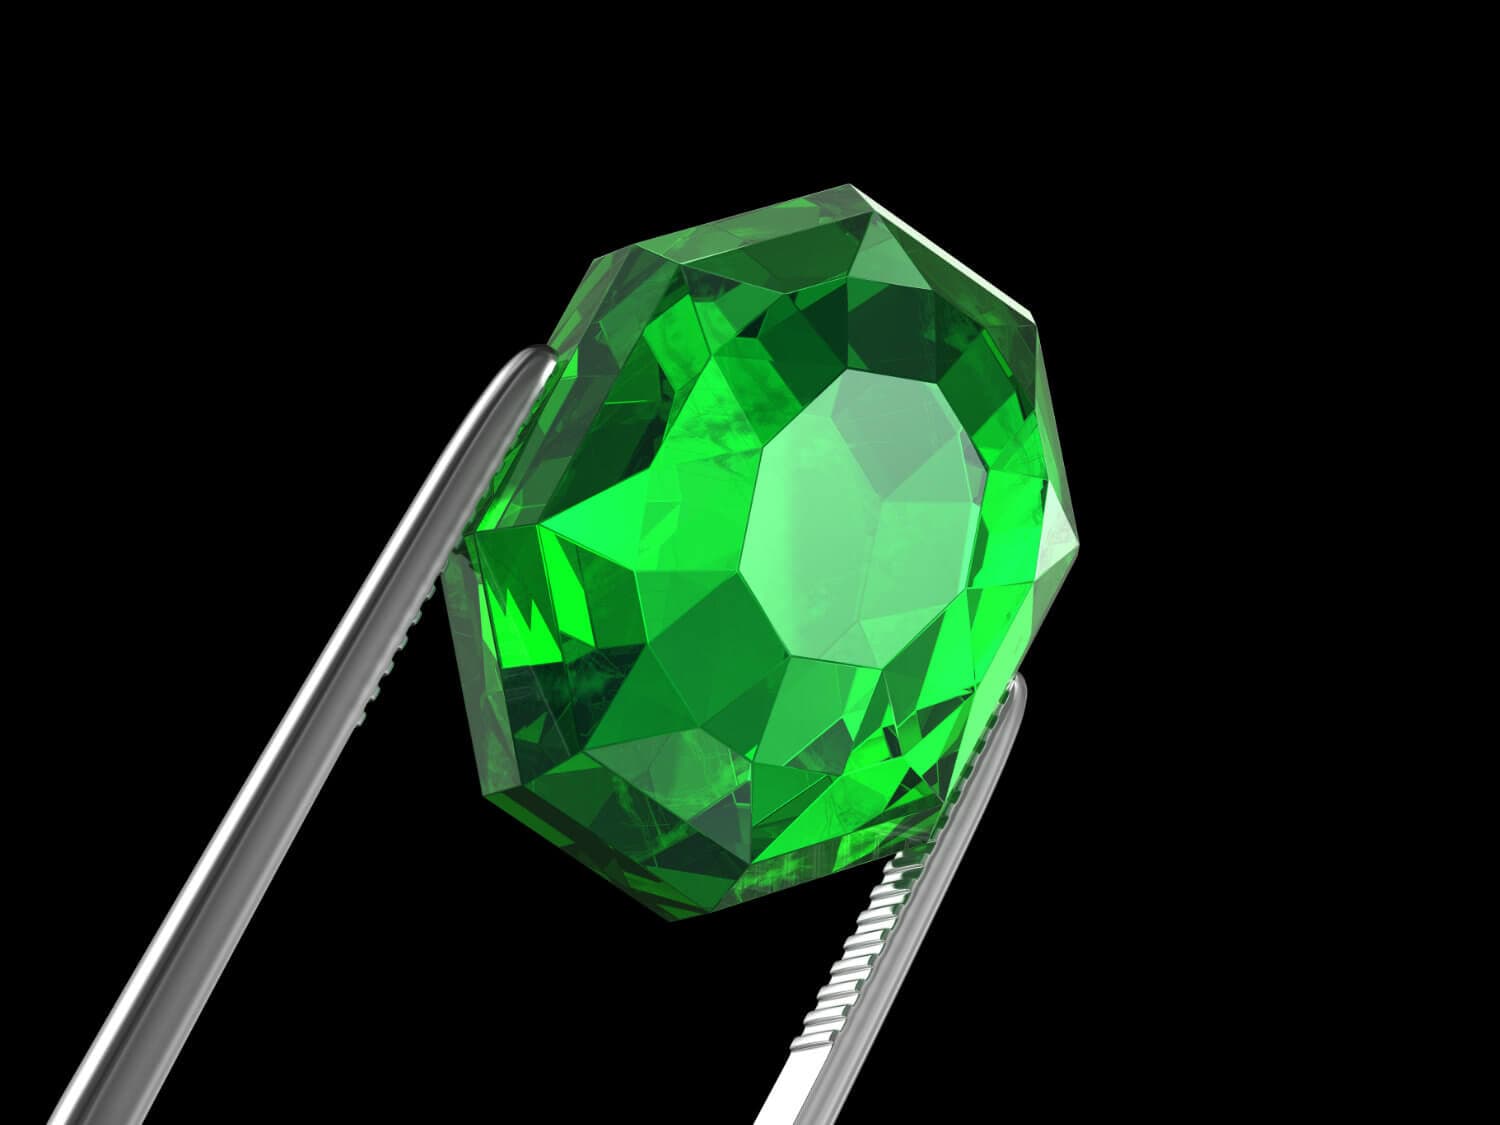
Using prongs is the most common way to secure a gem to a jewelry piece. Learn basic prong setting procedures and how to make a variety of adjustments.
11 Minute Read
For your jewelry to look good and the gems to stay secure, you must learn to set your stones correctly. This will take some practice. Start with the easiest gems to set: thin cut, but not too small, round stones like diamond and cubic zirconia. Then, try deep, “belly cut” rounds. Next, proceed to ovals and other fancy shapes. Although tiny gems are simple, they pose their own challenges simply due to their size. You can attempt these once you familiarize yourself with prong setting tools and procedures.
The prong setting process is fairly complex, due to the number of factors you must keep in mind. However, it requires just average eye-hand coordination and a healthy desire to learn.
Most prong settings come with long wires or bars you’ll need to notch and shorten. (You can also find pre-notched “Easy Mounts.” They’ll save you time and labor but still require a…


When you join the IGS community, you get trusted diamond & gemstone information when you need it.
For your jewelry to look good and the gems to stay secure, you must learn to set your stones correctly. This will take some practice. Start with the easiest gems to set: thin cut, but not too small, round stones like diamond and cubic zirconia. Then, try deep, “belly cut” rounds. Next, proceed to ovals and other fancy shapes. Although tiny gems are simple, they pose their own challenges simply due to their size. You can attempt these once you familiarize yourself with prong setting tools and procedures.
The prong setting process is fairly complex, due to the number of factors you must keep in mind. However, it requires just average eye-hand coordination and a healthy desire to learn.
Most prong settings come with long wires or bars you’ll need to notch and shorten. (You can also find pre-notched “Easy Mounts.” They’ll save you time and labor but still require a…

Using prongs is the most common way to secure a gem to a jewelry piece. Learn basic prong setting procedures and how to make a variety of adjustments.

“I have never known or heard of an organization that offers so much for its members, and at such a low cost.”
— Ernest Roisch, Rainbow Rocks LTD
That's less than $0.01 per article. Get instant access to 1,700+ premium articles, courses, and gem pricing data.


