

Novice gem faceters often have questions about dopping with wax. Learn what types of dopping wax to use and how to get started.
3 Minute Read
Wax is the best and fastest way to dop almost everything. Once you get a little practice dopping with wax, you'll never use anything else. It's safe, chemical-free, inexpensive, versatile, and — if used properly — quite strong. Most professional faceters use wax. Using wax will also keep you from gluing yourself to your stone and being laughed at when you yell for help. People can be so cruel.
You'll find several different types of wax available. Each has a different color, and all have different melting temperatures. Consult the instructions for the type you're using.
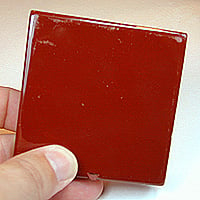
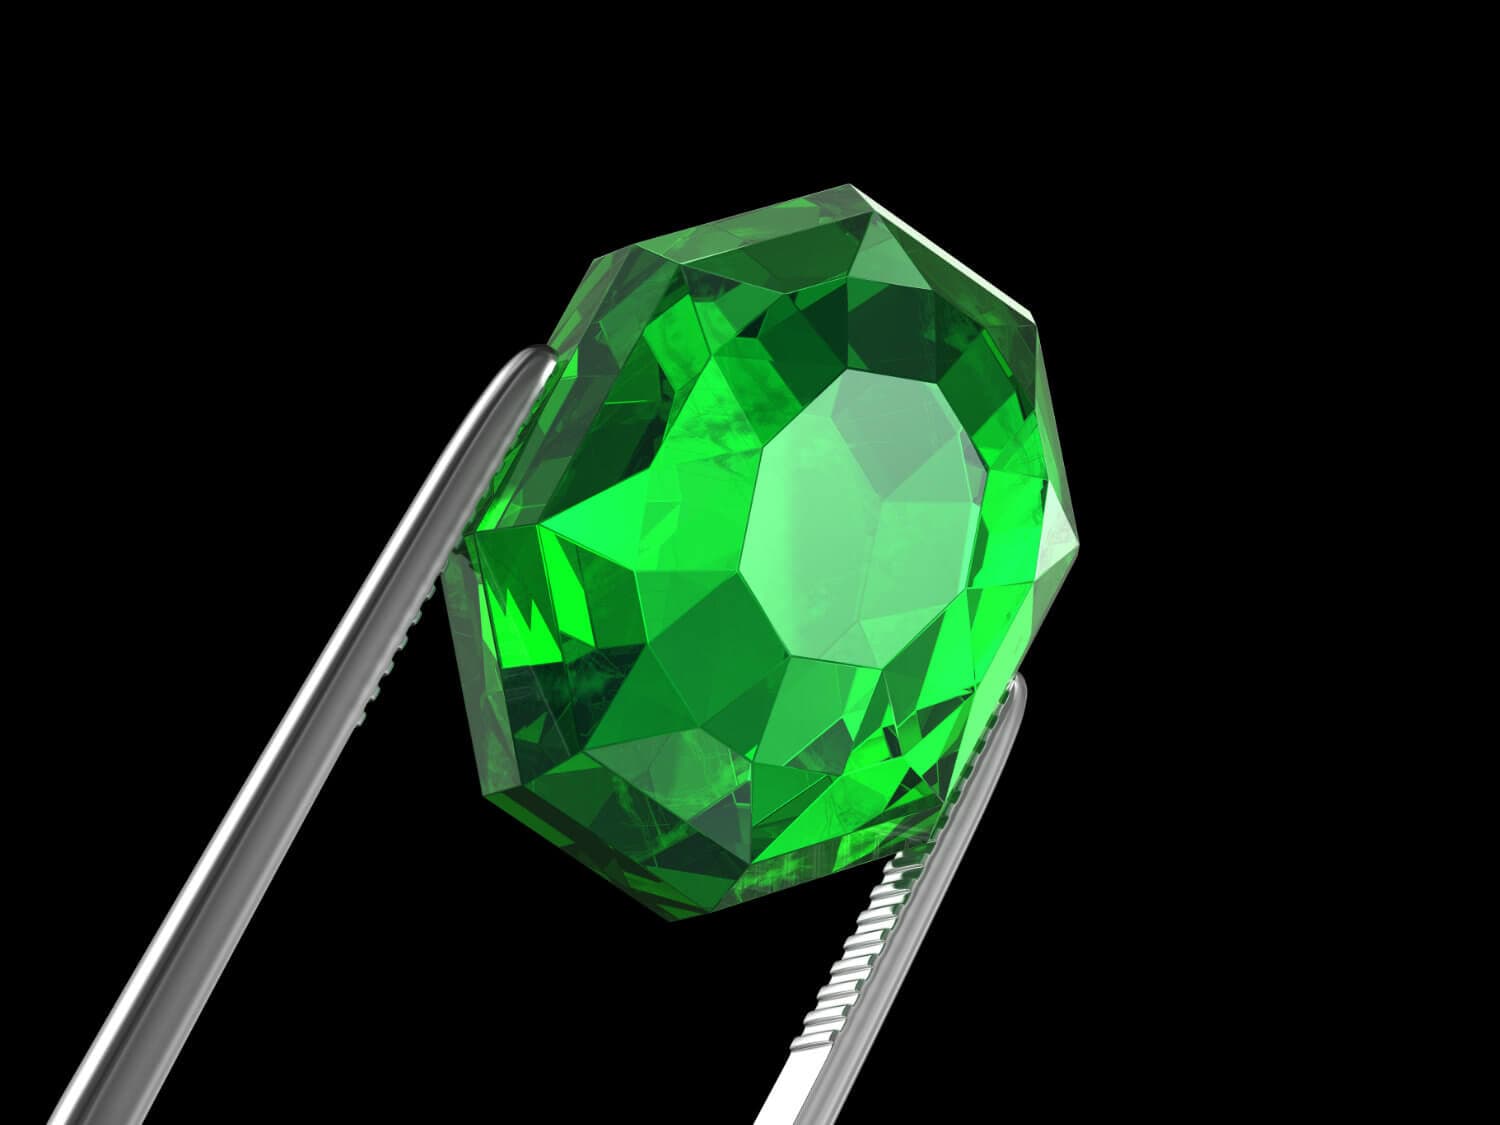
The wax you should use depends on what you want to cut. I cut mostly commercial types of gems, such as tourmaline, garnet, beryl, sapphire, spinel, and quartz. To dop these, I use the high-temperature red/brown wax, sometimes called diamond setter's wax. However, if you're going to cut something heat sensitive, like opal, use a low-temperature dopping wax, such as green.
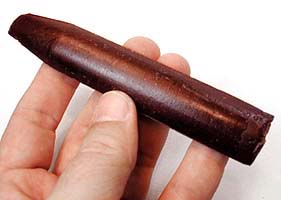
Although called "wax," this material is really a pitch type of substance. It's not "candle wax." It melts at a much higher temperature than candle wax and becomes very tough when cooled. We in the faceting trade call it dopping wax for lack of a better name.
Take a piece of wax, about 3/8″ square, and put it in a small glass jar with a good lid. Add a couple of teaspoons of alcohol. (Denatured works best, and you can use it in an alcohol lamp, too). Let it melt over night. In the morning, you'll see it has separated.
You'll find some crust at the bottom of the jar. You don't want that. It's basically filler, so you can throw it away. What you want is the lacquer floating in the alcohol that you can pour off.
When you're ready to dop a stone, use the lacquer to coat both the end of the dop and the flat of the gem. Let them dry for a few minutes. This creates a pre-bond that will help you adhere the two together.
Next, melt some wax onto your dop and coat the whole end. I would rather have a little too much wax than not enough. For this stage, I use an alcohol lamp, because it's easier to control the heat.
Don't bubble and/or smoke the wax. If this happens, you've used too much heat and taken the temper out of the wax. You must start again. Get the wax good and runny, but not boiling.
Keep the wax on the dop by turning it. When it's hot enough and melted, stick it to the stone. This won't give you a great seal yet. All you want at this stage is to get the gem and dop to stick together. If they don't stick, the wax wasn't hot enough. Try again. (Some people heat the stone a little bit to help stick to the dop the first time, but I prefer not to do this).
When the gem sticks to the dop, gently hold the dop and stone above the flame. Turn the wax/stone/dop joint constantly until the wax appears to "slump and seal." Be careful! If you heat the joint too much, the stone will fall off and you'll need to start again.
You want the joint to heat evenly and gradually. Hold it about an inch above the flame, right at the seal between the stone and wax, and keep moving. Practice makes perfect. It may take you a few tries to get a good joint. Once you do it a few times and know what to look for, it gets easy.
I usually test the joint by tugging on it after things have cooled completely. (If I didn't get a good joint, I'd rather re-dop now than later). Don't cool the joint by putting it in water. Stones can be very susceptible to thermal shock. Any sudden heating or cooling will probably cause damage. So, just let the joint cool gradually.
I usually use a cone dop instead of a flat dop on the first dopping of the stone (on the flat of the gem). I think the extra wax inside the cone helps strengthen the overall seal, since the wax isn't only around the dop but inside it as well. Of course, you can use either a cone or flat dop.


When you join the IGS community, you get trusted diamond & gemstone information when you need it.
Wax is the best and fastest way to dop almost everything. Once you get a little practice dopping with wax, you'll never use anything else. It's safe, chemical-free, inexpensive, versatile, and — if used properly — quite strong. Most professional faceters use wax. Using wax will also keep you from gluing yourself to your stone and being laughed at when you yell for help. People can be so cruel.
You'll find several different types of wax available. Each has a different color, and all have different melting temperatures. Consult the instructions for the type you're using.
The wax you should use depends on what you want to cut. I cut mostly commercial types of gems, such as tourmaline, garnet, , , , and . To dop these, I use the high-temperature red/brown wax, sometimes called diamond setter's wax. However, if you're going to cut something heat sensitive, like , use a low-temperature dopping wax, such as .
Although called "wax," this material is really a pitch type of substance. It's not "candle wax." It melts at a much higher temperature than candle wax and becomes very tough when cooled. We in the faceting trade call it dopping wax for lack of a better name.
Take a piece of wax, about 3/8″ square, and put it in a small glass jar with a good lid. Add a couple of teaspoons of alcohol. (Denatured works best, and you can use it in an alcohol lamp, too). Let it melt over night. In the morning, you'll see it has separated.
You'll find some crust at the bottom of the jar. You don't want that. It's basically filler, so you can throw it away. What you want is the lacquer floating in the alcohol that you can pour off.
When you're ready to dop a stone, use the lacquer to coat both the end of the dop and the flat of the gem. Let them dry for a few minutes. This creates a pre-bond that will help you adhere the two together.
Next, melt some wax onto your dop and coat the whole end. I would rather have a little too much wax than not enough. For this stage, I use an alcohol lamp, because it's easier to control the heat.
Don't bubble and/or smoke the wax. If this happens, you've used too much heat and taken the temper out of the wax. You must start again. Get the wax good and runny, but not boiling.
Keep the wax on the dop by turning it. When it's hot enough and melted, stick it to the stone. This won't give you a great seal yet. All you want at this stage is to get the gem and dop to stick together. If they don't stick, the wax wasn't hot enough. Try again. (Some people heat the stone a little bit to help stick to the dop the first time, but I prefer not to do this).
When the gem sticks to the dop, gently hold the dop and stone above the flame. Turn the wax/stone/dop joint constantly until the wax appears to "slump and seal." Be careful! If you heat the joint too much, the stone will fall off and you'll need to start again.
You want the joint to heat evenly and gradually. Hold it about an inch above the flame, right at the seal between the stone and wax, and keep moving. Practice makes perfect. It may take you a few tries to get a good joint. Once you do it a few times and know what to look for, it gets easy.
I usually test the joint by tugging on it after things have cooled completely. (If I didn't get a good joint, I'd rather re-dop now than later). Don't cool the joint by putting it in water. Stones can be very susceptible to thermal shock. Any sudden heating or cooling will probably cause damage. So, just let the joint cool gradually.
I usually use a cone dop instead of a flat dop on the first dopping of the stone (on the flat of the gem). I think the extra wax inside the cone helps strengthen the overall seal, since the wax isn't only around the dop but inside it as well. Of course, you can use either a cone or flat dop.


