

Cabochon cutting or cabbing is the most popular form of gem cutting. With practice, you can master this skill. Read on to learn more about this technique.
12 Minute Read
Cabbing tools can be as simple and inexpensive or elaborate and pricey as your tastes run.
The most popular cabochon cutting machine is the Genie by Diamond Pacific. It has six permanently mounted wheels. The first two are 100 and 260 grit diamond on solid wheels. The other four range from 280 to 14,000 grit. They have a foam backing, which conforms to the curvature of the stones. There are two movable "geysers" that supply water to the wheels for lubrication. You can't polish everything with one method, so this machine comes with a flat disk you can mount on the end. This disk can hold enough varieties of pads and polishing compounds to polish anything you might encounter.
The Genie's advantages are that you never spend time changing accessories and that the diamond wheels last almost forever. Cost is its primary disadvantage. This machine is a major investment. It's also large and heavy, which is fine for a permanent setup. However, if you need portability, this isn't the unit for you.
Lortone offers a unit lower in price than the Genie with a built-in saw, a silicon carbide grinding wheel, an expanding drum, and a flat disk for polishing. The quality of the machine and the work you can do with it are both excellent. The cost reduction comes in the wheels.
Silicon carbide wheels round in the center. They soon become difficult to use and can eventually become unusable. To flatten them, you need a diamond tool. These wheels don't last nearly as long as diamond wheels. A good six-inch diamond wheel can cost three to seven times as much as an equivalent silicon carbide wheel. Although the initial cost of silicon carbide is lower, in the long run diamond is less expensive. Bear this in mind when replacing a wheel or building your own machine.
The Lortone also uses an expanding drum that's four inches wide. To use it, you place a belt around the drum, and, as the machine comes up to speed, the drum expands and holds it in place. Many kinds of belts are available. They come in silicon carbide or diamond and in grits from 100 to 50,000. In the long run, these belts cost more than wheels with embedded diamond, but the difference isn't as significant as with the silicon carbide grinding wheels. The primary disadvantage of these belts is the time it takes to change them between grits. You'll need to completely stop the machine, remove the old belt, replace it with a new one, and then bring the machine back to speed. You'll need to assess your needs to decide if this delay is significant enough to affect your work and/or enjoyment.
One of the least expensive cabochon cutting machines is the Rock Rascal. It has only one station (so you'll be changing accessories constantly) and holds only one-inch wide wheels. However, this tool has been on the market for decades, which speaks volumes for its durability.
There are a number of cabochon cutting machines available with a variety of features and prices.
Some people have made their own machines. The requirements are: an axle of the proper diameter for the wheels you want, a motor, a pulley system to attain the proper speed, and a method to keep the wheels wet. This is usually a drip system. For a simple solution, place a sponge so it sits in water and constantly wipe the wheel clean.
You can cab on a faceting machine, but you can't facet on a cabbing machine. If you're a beginning lapidary student and budgeting your equipment costs, keep this in mind.
You can shape your cabs with the same coarse laps you use for faceting. Clean your coarse lap, then put a piece of firm, 1/4″ thick, foam rubber on top of it. This will hold pieces of 600 grit wet/dry sandpaper (that you must cut to shape) for smoothing. To polish, replace the sandpaper with an Ultra Lap, a piece of leather, or other polishing pad charged with your favorite compound.
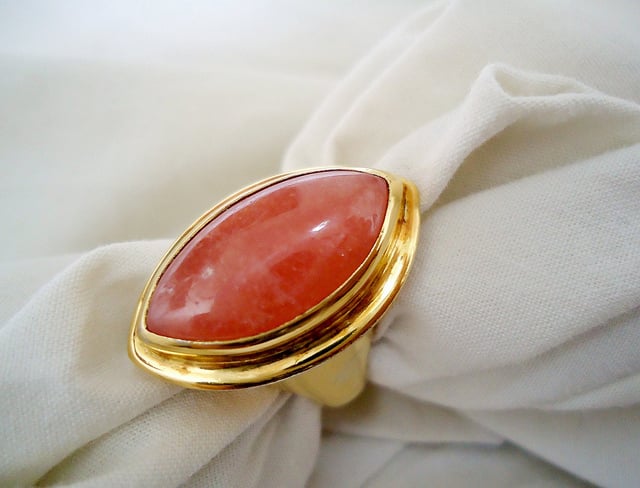
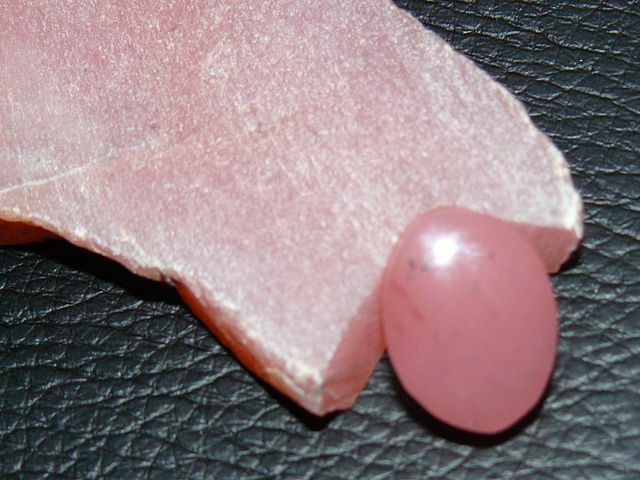
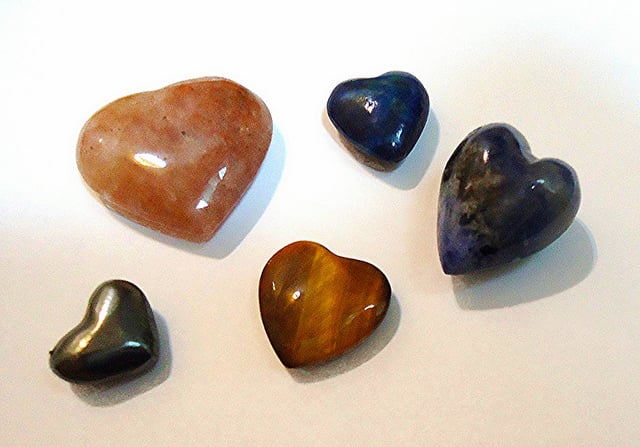
The oval cabochon is the most common shape for cabs. Other shapes just require minor technique adjustments. In this section, you'll learn how to cut an oval.

Most cutting begins with a slab. Yes, that means you'll need a saw. Some cabs can be cut without slabbing, but most will need to be cut into 1/4″ to 3/8″ thick slices.
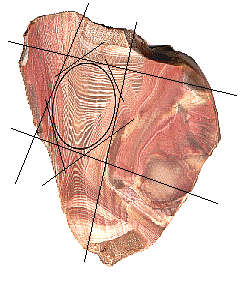
Begin by placing a template over the slab. If your material is a solid color, you're just looking for the largest piece you can cut. If the material has a pattern, then you're looking for the shape and size with the most eye appeal. This is a bit of a guessing game, since the pattern will change as you round the top. Look at both sides of the slab to get an idea of how it will change.
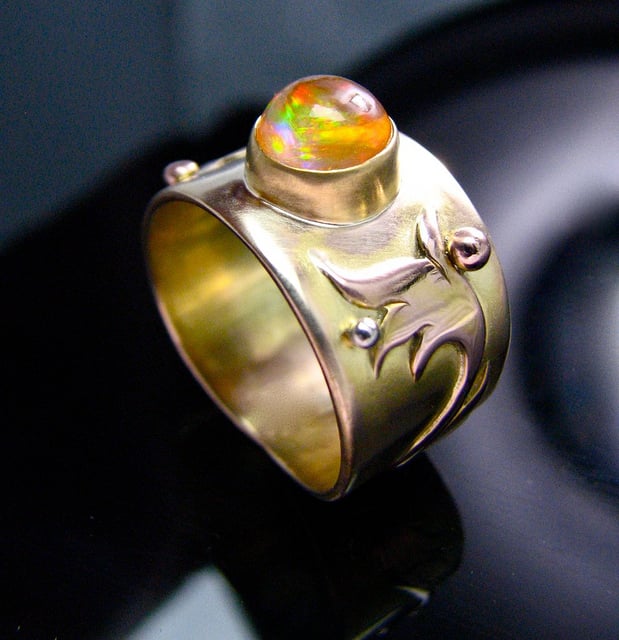
A template isn't always necessary. Some valuable materials, notably opal, are usually cut freeform for maximum weight retention. However, you'll want to end up with calibrated sizes and shapes with most gem material, since these will fit into pre-made jewelry settings. Saving a little weight on most cabs but then having to spend time and money to make settings isn't cost effective.
When you've chosen your area, mark it for cutting. An aluminum pen is ideal for this. The mark won't wash away like a pencil mark. Furthermore, many gem materials will absorb liquid ink, which leaves an unsightly and costly mess you'll have to cut away.
Once you outline your cab, take it to the saw and cut away as much excess material as possible. Until you get used to this process, drawing guide lines with the aluminum pen and ruler will prove useful.
If you're working with a large gem, you can move on to the grinding stage. Smaller stones should be dopped to save your fingers from unnecessary abuse.
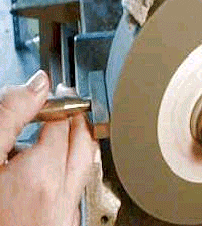
Now it's time to start cutting. If you're working with something hard, like a piece of agate, begin with your coarsest wheel. If you're working with something soft, like opal or turquoise, or something small, begin with one of the smoother wheels. Of course, if the smoother wheel cuts too slowly, you can always go to a coarser wheel. However, it's best to start gently with it.
Bring your machine up to speed and get your chosen wheel thoroughly wet before starting to cut. The water serves two important purposes. It acts as a lubricant, keeping the friction and heat down, and carries away the swarf (the cutting debris). This keeps the wheel from clogging. Most manufacturers recommend you use an additive for additional lubrication. Unless your machine is made entirely of stainless steel, you'll need an additive with rust preventative properties as well.
Use the lower quarter of the wheel when grinding. If you try to work above the centerline, the gem will probably be pulled out of your hands. "Pulled" is a tame word for what actually happens. The gem will be yanked violently from your hands and flung to the far reaches of your shop. If you can find the stone, it'll likely be broken.
Start by grinding the excess material down towards the outline you've drawn. Use a pair of calipers to measure your progress. Templates are great for shapes but aren't accurate for dimensions. Leave yourself some room for the remaining steps. Depending on the size of your cab, you may want to leave a half-millimeter or so. This is something you'll learn from experience. The amount varies with the hardness of the material and the size of the gem.
Once you have the outline shaped, you'll start the process called "peeling the apple." Grind a bevel all the way around the gem at about 45º, bringing it 2/3rd to 3/4th of the way down to the bottom. Then, grind another bevel, all the way around the stone again, at about 60º. Leave some of the previous cut showing. Keep "peeling the apple," cutting bevels at increasingly steeper angles, until they meet in the center.

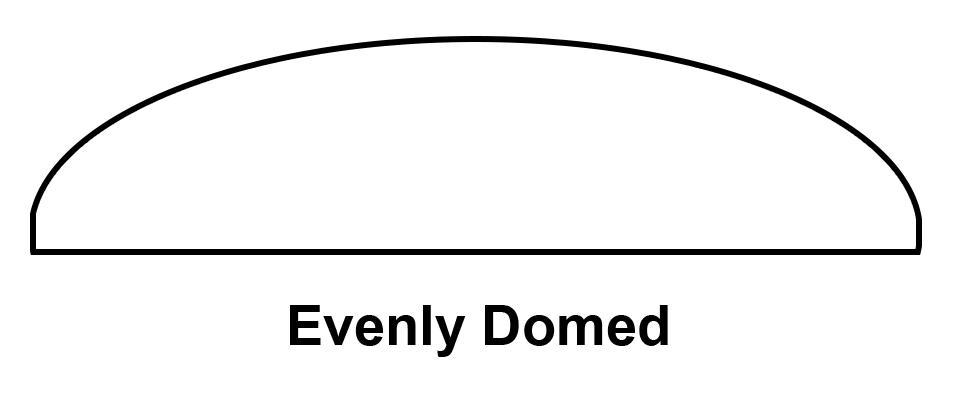
This is the area that causes the most trouble for beginners. It may seem that just three cuts will completely cover the stone, except for maybe a tiny area right in the center. That's not good enough. If you have even a tiny area that's flat and not properly domed, the cab won't take a proper polish. To make matters worse, the flat area will be right on the very top, where it shows the most!
Be patient and learn to get the entire stone evenly domed. Look at the stone from both ends and both sides. The curvature should be even in every direction and all the way to the center. You should make this inspection at every step, but especially in the first, coarsest stage. Any irregularities are easier to correct now than later with the finer grits.
This next step may seem like you're getting ahead of yourself, but it's presented just so you know where you're heading. As you're shaping the gem, leave a small, vertical area on the sides before it begins to taper in. Also, sand a very small bevel on the lower edge of your girdle. This is done in the fine sanding stage. The bevel prevents the edge from chipping and also leaves a small area for solder.
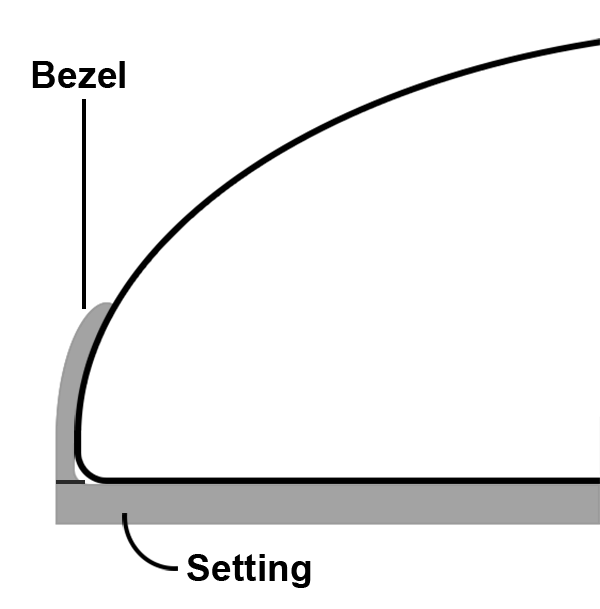
Cabs are usually placed in a bezel setting. The bezel, a thin strip of metal, is soldered to the main piece. Hence, you need a little room for the solder. To hold the gem securely, the bezel needs to be bent inward, over the curvature of the stone. The vertical area on the side offers support without having to bend the bezel too far in. When finished, you want to see mostly the stone. You don't want the bezel to come so far over the edges that it distracts from the gem.
These steps are particularly important with brittle opal stones. If you leave a sharp edge on the girdle, the stone can chip or crack when tightening the bezel. The steeper the sides, the more support the gem receives. Of course, you can also overdo this. The illustration above shows the ideal proportions from the metalsmith's point of view.
Once you're satisfied with the shape of your gem, you'll start sanding out the coarse scratches. If you're using diamond, this will take a series of steps. Typically, you'd use a combination like 260, 600, and 1,200 grit. Inspect your gem after each step. Look for proper curvature, as you did before. Also, make sure you've removed all the coarse scratches from the previous step. This is very important. If you don't get them all out before moving to the next step, you'll either have to do it again or settle for a low-quality finish.
The gem needs to be dry for you to see the progress. In a humid environment, this can be challenging. If possible, warm the room before starting. If you can't warm the room, at least use warm water. Have plenty of towels available. Dry your hands before trying to dry the stone.
If you are using silicon carbide, all you need is 600 grit. It wears fast and becomes the finer grit you need for a pre-polish. Unfortunately, these have limited uses. You may need to keep two 600 belts. Use one for shaping and another, well-used one for pre-polishing.
I can't overstate the importance of the quality of your pre-polish, the final fine sanding. This is the single most important element in getting a high polish. The surface should be ultra smooth, with no visible scratches at all. Any time you're having trouble getting a high polish, go back to the pre-polish step. Soft materials like lapis and opal scratch readily with diamond. 1,200 diamond is a fine pre-polish for agate, but you might need something much finer, like 3,000 or 8,000, for softer gems.
Polishing can be very confusing for a beginner. There are hundreds of methods. If you buy a new cabochon cutting machine, it'll probably come with a polishing system. That's a good place to start.
Here are some tricks of the lapidary trade:
These are the most common and most useful polishing methods. With them, you'll be able to get a mirror polish on any material. That mirror polish is important. It takes a fair amount of work to procure a cabochon cutting machine, learn how to use it, find the rough, orient it, and finally cut a cab. Getting that mirror-high polish on a beautiful stone makes it all worthwhile.
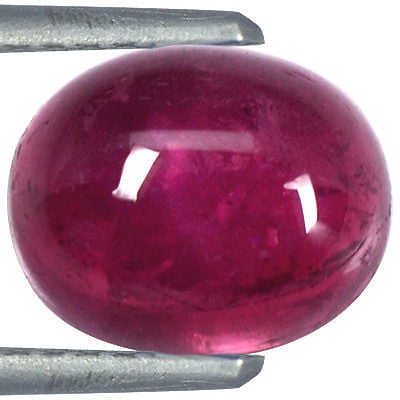
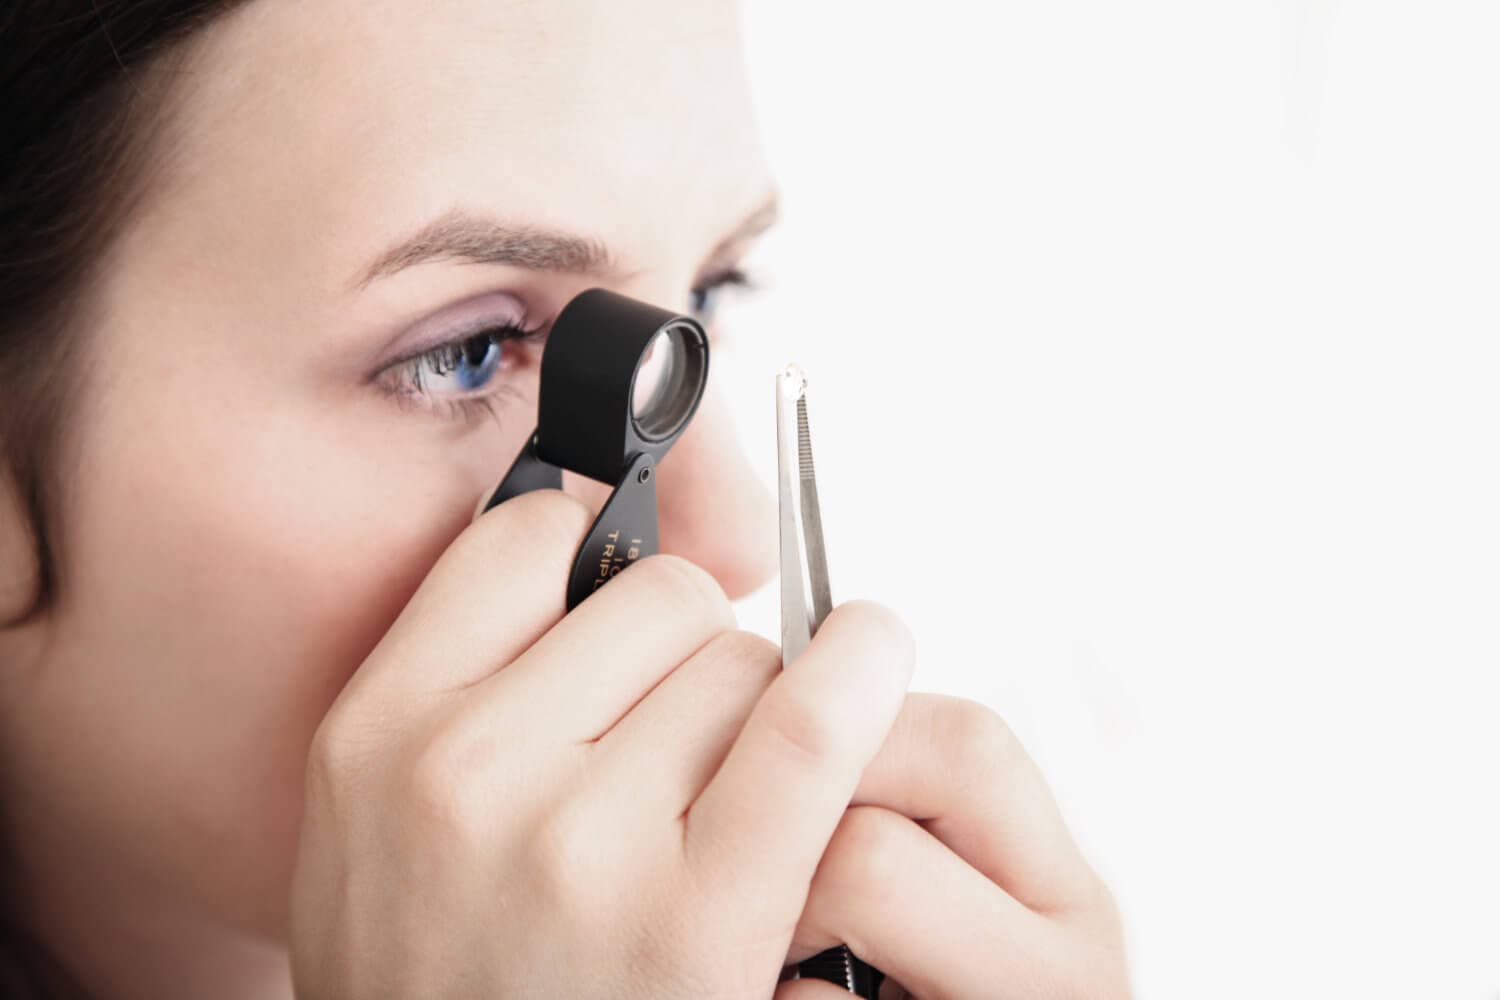
When examining a cabochon, start by judging the polish. Look for any scratches or pitting that will reduce the amount of light reflected from the surface.
Next, judge the shape. How even is the contour? A cabochon should have an even curvature to its surface. Look at the cab from both ends and both sides. The shape (the curvature) should be a mirror image from side to side. No area should be thicker than its opposite. There should be no bulging.
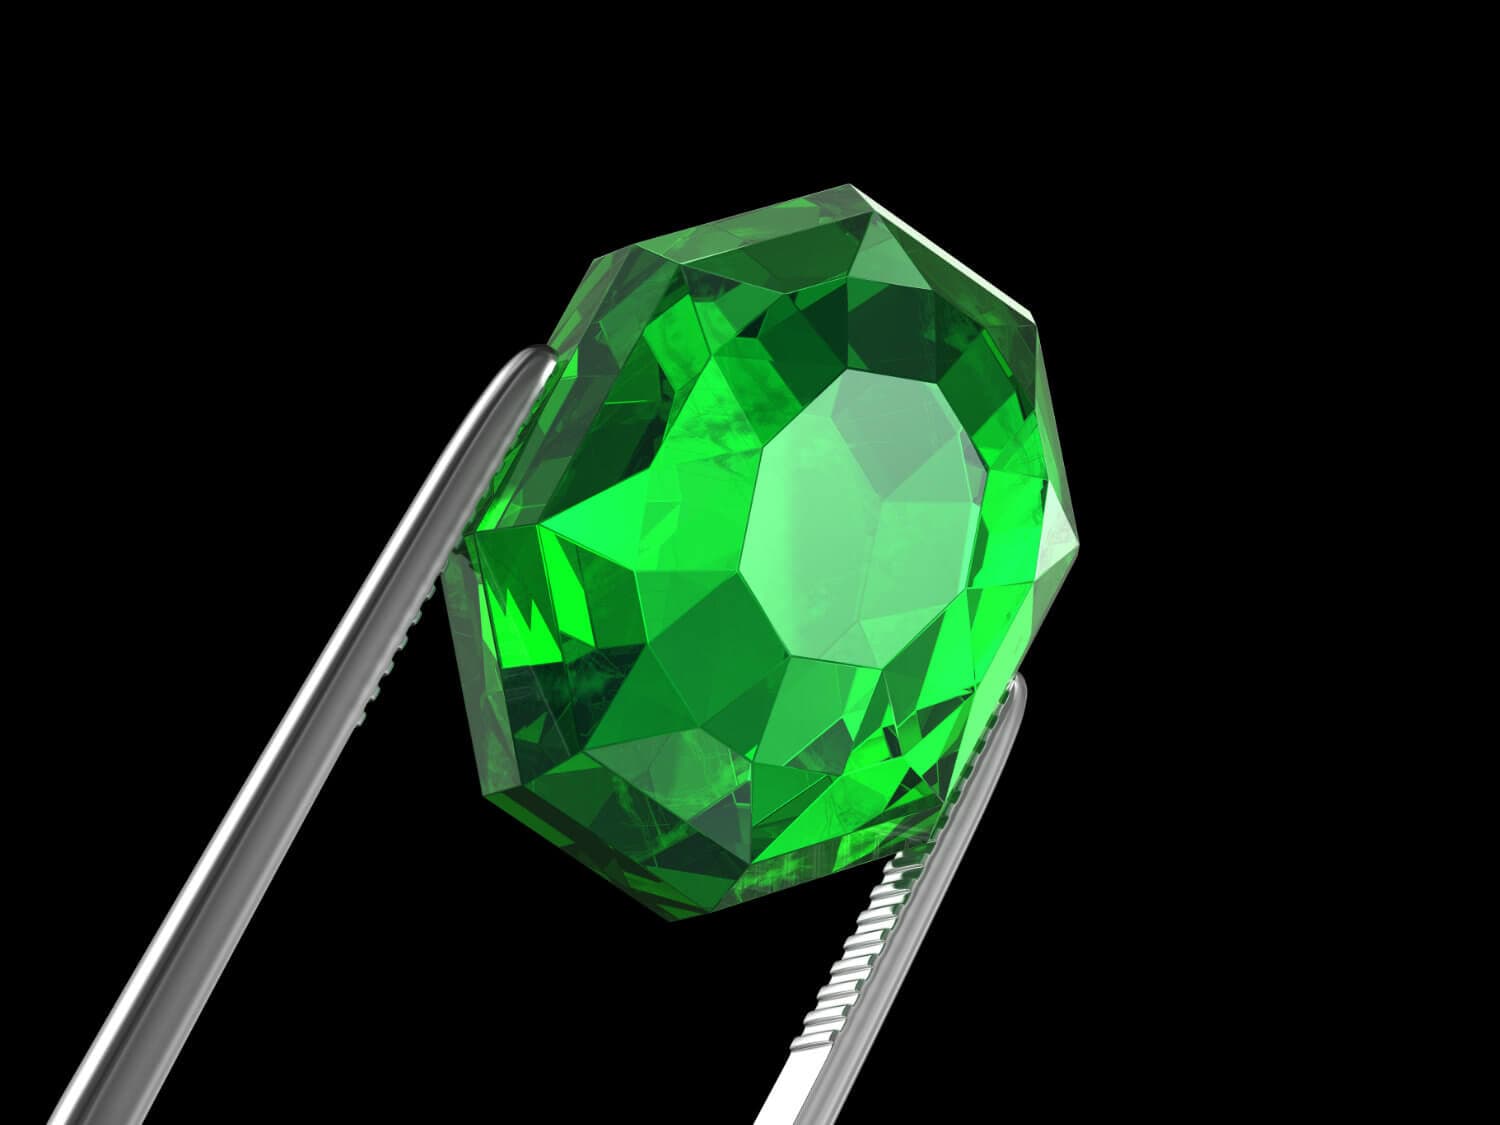
Examine the shape further by holding the cab so light reflects off its surface. Move the gem so the light travels across the top. If the surface is properly cut, you'll see the band of reflected light glide evenly over its surface. The band of light will begin to snake if there are any irregularities.

You're most likely to see a problem at the top of the cabochon. Often, a small area will be somewhat flattened. From the side, this is hard to see. However, when light passes over the area, it's obvious. The fact that light doesn't flow smoothly over this area is why the cabochon cutting would be considered second rate. (If you look closely, that area probably doesn't have a good polish, either).


When you join the IGS community, you get trusted diamond & gemstone information when you need it.
Cabbing tools can be as simple and inexpensive or elaborate and pricey as your tastes run.
The most popular cabochon cutting machine is the Genie by Diamond Pacific. It has six permanently mounted wheels. The first two are 100 and 260 grit diamond on solid wheels. The other four range from 280 to 14,000 grit. They have a foam backing, which conforms to the curvature of the stones. There are two movable "geysers" that supply water to the wheels for lubrication. You can't polish everything with one method, so this machine comes with a flat disk you can mount on the end. This disk can hold enough varieties of pads and polishing compounds to polish anything you might encounter.
The Genie's advantages are that you never spend time changing accessories and that the diamond wheels last almost forever. Cost is its primary disadvantage. This machine is a major investment. It's also large and heavy, which is fine for a permanent setup. However, if you need portability, this isn't the unit for you.
Lortone offers a unit lower in price than the Genie with a built-in saw, a silicon carbide grinding wheel, an expanding drum, and a flat disk for polishing. The quality of the machine and the work you can do with it are both excellent. The cost reduction comes in the wheels.
Silicon carbide wheels round in the center. They soon become difficult to use and can eventually become unusable. To flatten them, you need a diamond tool. These wheels don't last nearly as long as diamond wheels. A good six-inch diamond wheel can cost three to seven times as much as an equivalent silicon carbide wheel. Although the initial cost of silicon carbide is lower, in the long run diamond is less expensive. Bear this in mind when replacing a wheel or building your own machine.
The Lortone also uses an expanding drum that's four inches wide. To use it, you place a belt around the drum, and, as the machine comes up to speed, the drum expands and holds it in place. Many kinds of belts are available. They come in silicon carbide or diamond and in grits from 100 to 50,000. In the long run, these belts cost more than wheels with embedded diamond, but the difference isn't as significant as with the silicon carbide grinding wheels. The primary disadvantage of these belts is the time it takes to change them between grits. You'll need to completely stop the machine, remove the old belt, replace it with a new one, and then bring the machine back to speed. You'll need to assess your needs to decide if this delay is significant enough to affect your work and/or enjoyment.
One of the least expensive cabochon cutting machines is the Rock Rascal. It has only one station (so you'll be changing accessories constantly) and holds only one-inch wide wheels. However, this tool has been on the market for decades, which speaks volumes for its durability.
There are a number of cabochon cutting machines available with a variety of features and prices.
Some people have made their own machines. The requirements are: an axle of the proper diameter for the wheels you want, a motor, a pulley system to attain the proper speed, and a method to keep the wheels wet. This is usually a drip system. For a simple solution, place a sponge so it sits in water and constantly wipe the wheel clean.
You can cab on a faceting machine, but you can't facet on a cabbing machine. If you're a beginning lapidary student and budgeting your equipment costs, keep this in mind.
You can shape your cabs with the same coarse laps you use for faceting. Clean your coarse lap, then put a piece of firm, 1/4″ thick, foam rubber on top of it. This will hold pieces of 600 grit wet/dry sandpaper (that you must cut to shape) for smoothing. To polish, replace the sandpaper with an Ultra Lap, a piece of leather, or other polishing pad charged with your favorite compound.
The oval cabochon is the most common shape for cabs. Other shapes just require minor technique adjustments. In this section, you'll learn how to cut an oval.
Most cutting begins with a slab. Yes, that means you'll need a saw. Some cabs can be cut without slabbing, but most will need to be cut into 1/4″ to 3/8″ thick slices.
Begin by placing a template over the slab. If your material is a solid color, you're just looking for the largest piece you can cut. If the material has a pattern, then you're looking for the shape and size with the most eye appeal. This is a bit of a guessing game, since the pattern will change as you round the top. Look at both sides of the slab to get an idea of how it will change.
A template isn't always necessary. Some valuable materials, notably opal, are usually cut freeform for maximum weight retention. However, you'll want to end up with calibrated sizes and shapes with most gem material, since these will fit into pre-made jewelry settings. Saving a little weight on most cabs but then having to spend time and money to make settings isn't cost effective.
When you've chosen your area, mark it for cutting. An aluminum pen is ideal for this. The mark won't wash away like a pencil mark. Furthermore, many gem materials will absorb liquid ink, which leaves an unsightly and costly mess you'll have to cut away.
Once you outline your cab, take it to the saw and cut away as much excess material as possible. Until you get used to this process, drawing guide lines with the aluminum pen and ruler will prove useful.
If you're working with a large gem, you can move on to the grinding stage. Smaller stones should be dopped to save your fingers from unnecessary abuse.
Now it's time to start cutting. If you're working with something hard, like a piece of agate, begin with your coarsest wheel. If you're working with something soft, like opal or turquoise, or something small, begin with one of the smoother wheels. Of course, if the smoother wheel cuts too slowly, you can always go to a coarser wheel. However, it's best to start gently with it.
Bring your machine up to speed and get your chosen wheel thoroughly wet before starting to cut. The water serves two important purposes. It acts as a lubricant, keeping the friction and heat down, and carries away the swarf (the cutting debris). This keeps the wheel from clogging. Most manufacturers recommend you use an additive for additional lubrication. Unless your machine is made entirely of stainless steel, you'll need an additive with rust preventative properties as well.
Use the lower quarter of the wheel when grinding. If you try to work above the centerline, the gem will probably be pulled out of your hands. "Pulled" is a tame word for what actually happens. The gem will be yanked violently from your hands and flung to the far reaches of your shop. If you can find the stone, it'll likely be broken.
Start by grinding the excess material down towards the outline you've drawn. Use a pair of calipers to measure your progress. Templates are great for shapes but aren't accurate for dimensions. Leave yourself some room for the remaining steps. Depending on the size of your cab, you may want to leave a half-millimeter or so. This is something you'll learn from experience. The amount varies with the hardness of the material and the size of the gem.
Once you have the outline shaped, you'll start the process called "peeling the apple." Grind a bevel all the way around the gem at about 45º, bringing it 2/3rd to 3/4th of the way down to the bottom. Then, grind another bevel, all the way around the stone again, at about 60º. Leave some of the previous cut showing. Keep "peeling the apple," cutting bevels at increasingly steeper angles, until they meet in the center.
This is the area that causes the most trouble for beginners. It may seem that just three cuts will completely cover the stone, except for maybe a tiny area right in the center. That's not good enough. If you have even a tiny area that's flat and not properly domed, the cab won't take a proper polish. To make matters worse, the flat area will be right on the very top, where it shows the most!
Be patient and learn to get the entire stone evenly domed. Look at the stone from both ends and both sides. The curvature should be even in every direction and all the way to the center. You should make this inspection at every step, but especially in the first, coarsest stage. Any irregularities are easier to correct now than later with the finer grits.
This next step may seem like you're getting ahead of yourself, but it's presented just so you know where you're heading. As you're shaping the gem, leave a small, vertical area on the sides before it begins to taper in. Also, sand a very small bevel on the lower edge of your girdle. This is done in the fine sanding stage. The bevel prevents the edge from chipping and also leaves a small area for solder.
Cabs are usually placed in a bezel setting. The bezel, a thin strip of metal, is soldered to the main piece. Hence, you need a little room for the solder. To hold the gem securely, the bezel needs to be bent inward, over the curvature of the stone. The vertical area on the side offers support without having to bend the bezel too far in. When finished, you want to see mostly the stone. You don't want the bezel to come so far over the edges that it distracts from the gem.
These steps are particularly important with brittle opal stones. If you leave a sharp edge on the girdle, the stone can chip or crack when tightening the bezel. The steeper the sides, the more support the gem receives. Of course, you can also overdo this. The illustration above shows the ideal proportions from the metalsmith's point of view.
Once you're satisfied with the shape of your gem, you'll start sanding out the coarse scratches. If you're using diamond, this will take a series of steps. Typically, you'd use a combination like 260, 600, and 1,200 grit. Inspect your gem after each step. Look for proper curvature, as you did before. Also, make sure you've removed all the coarse scratches from the previous step. This is very important. If you don't get them all out before moving to the next step, you'll either have to do it again or settle for a low-quality finish.
The gem needs to be dry for you to see the progress. In a humid environment, this can be challenging. If possible, warm the room before starting. If you can't warm the room, at least use warm water. Have plenty of towels available. Dry your hands before trying to dry the stone.
If you are using silicon carbide, all you need is 600 grit. It wears fast and becomes the finer grit you need for a pre-polish. Unfortunately, these have limited uses. You may need to keep two 600 belts. Use one for shaping and another, well-used one for pre-polishing.
I can't overstate the importance of the quality of your pre-polish, the final fine sanding. This is the single most important element in getting a high polish. The surface should be ultra smooth, with no visible scratches at all. Any time you're having trouble getting a high polish, go back to the pre-polish step. Soft materials like lapis and opal scratch readily with diamond. 1,200 diamond is a fine pre-polish for agate, but you might need something much finer, like 3,000 or 8,000, for softer gems.
Polishing can be very confusing for a beginner. There are hundreds of methods. If you buy a new cabochon cutting machine, it'll probably come with a polishing system. That's a good place to start.
Here are some tricks of the lapidary trade:
These are the most common and most useful polishing methods. With them, you'll be able to get a mirror polish on any material. That mirror polish is important. It takes a fair amount of work to procure a cabochon cutting machine, learn how to use it, find the rough, orient it, and finally cut a cab. Getting that mirror-high polish on a beautiful stone makes it all worthwhile.
When examining a cabochon, start by judging the polish. Look for any scratches or pitting that will reduce the amount of light reflected from the surface.
Next, judge the shape. How even is the contour? A cabochon should have an even curvature to its surface. Look at the cab from both ends and both sides. The shape (the curvature) should be a mirror image from side to side. No area should be thicker than its opposite. There should be no bulging.
Examine the shape further by holding the cab so light reflects off its surface. Move the gem so the light travels across the top. If the surface is properly cut, you'll see the band of reflected light glide evenly over its surface. The band of light will begin to snake if there are any irregularities.
You're most likely to see a problem at the top of the cabochon. Often, a small area will be somewhat flattened. From the side, this is hard to see. However, when light passes over the area, it's obvious. The fact that light doesn't flow smoothly over this area is why the cabochon cutting would be considered second rate. (If you look closely, that area probably doesn't have a good polish, either).


